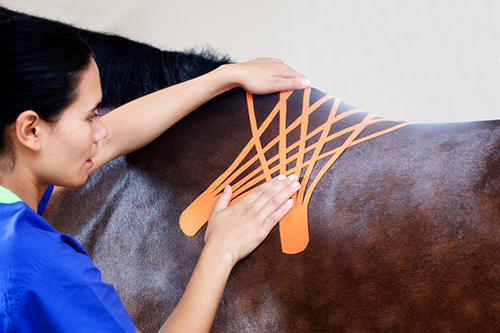





VetkinTape® is a medical grade kinesiology tape specifically designed for veterinary use. It features a unique blend of cotton, breathable, nonallergenic mesh, and an acrylic adhesive made from vegetal extracts. The adhesive is stronger than other tapes, allowing it to be applied to the animal’s coat and remain durable even when wet or in motion. Additionally, VetkinTape® is available in a variety of sizes, with the standard roll being 6 cm x 5 m. This one centimeter wider than most tapes on the market and provides extra coverage, as well as the flexibility to perform certain types of cuts. There are also wider 10 cm rolls for covering larger areas like a horses back, and 3 cm rolls for use on smaller animals such as dogs.
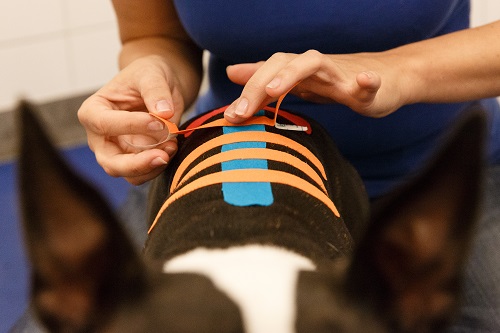
Canine taping guides
Step-by-step instructions for the most common canine applications, grouped by topic. Not sure which technique applies? Every guide explains when taping helps, when it doesn’t, and when to see a veterinarian first.
Joints & tendons
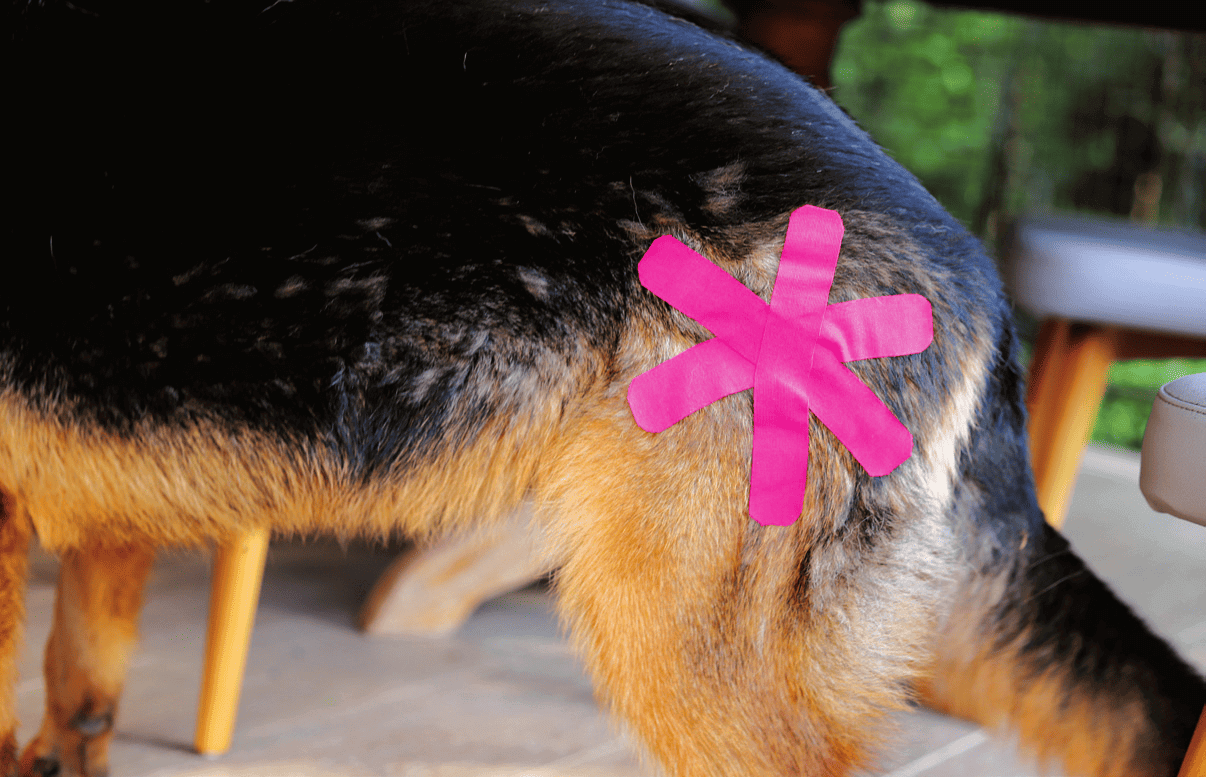
Hip Joint Pain: The Star Technique
A star-shaped application for localised, already-diagnosed hip and coxofemoral joint pain.
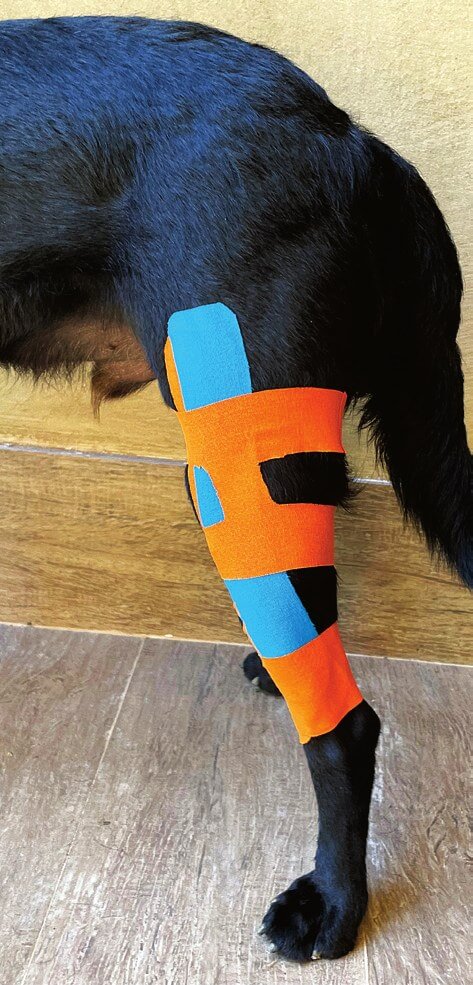
Cranial Cruciate Ligament Disease (CCLD)
When taping helps, and the Double H technique for stifle (knee) stability.
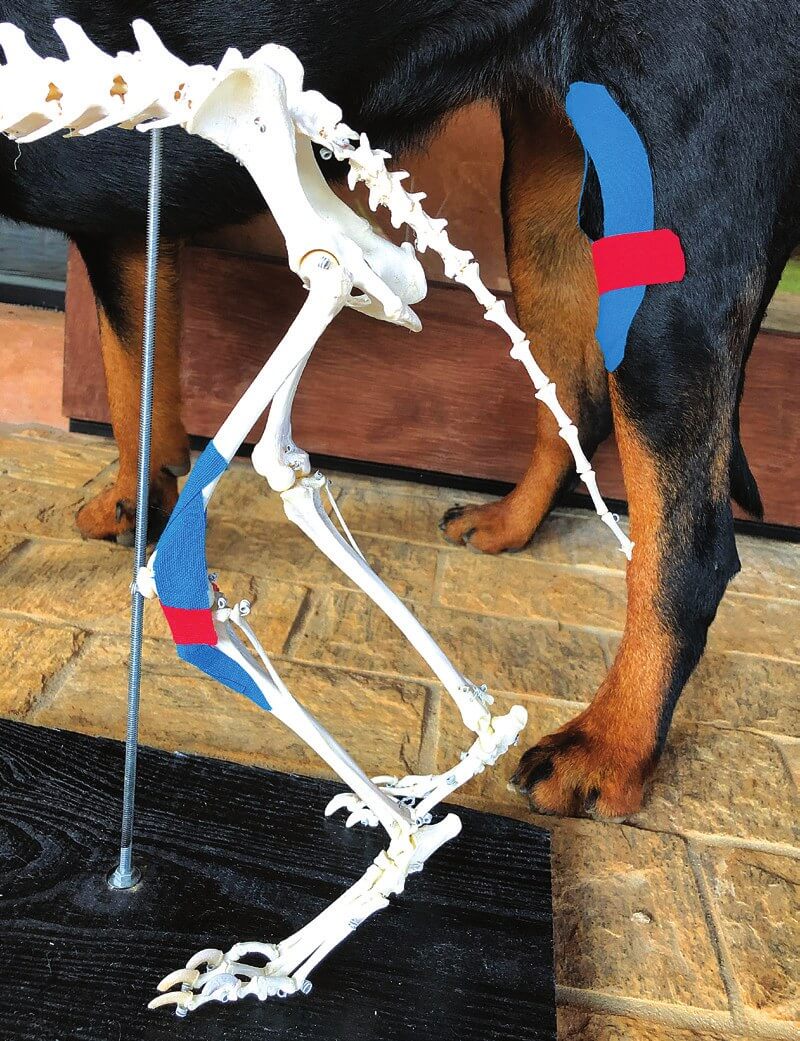
Medial Patellar Luxation
Supporting a straighter path for the kneecap in grade I–II patellar luxation.
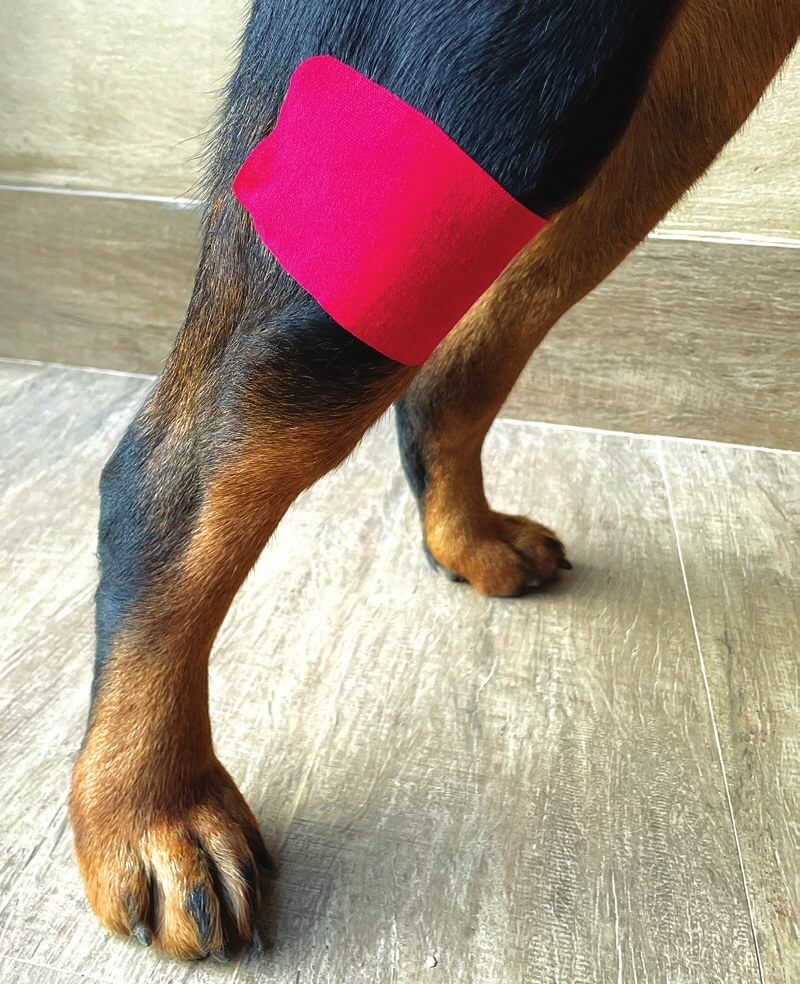
Patellar Ligament Desmopathy
Easing pain from a thickened patellar tendon, often seen after CCLD surgery.
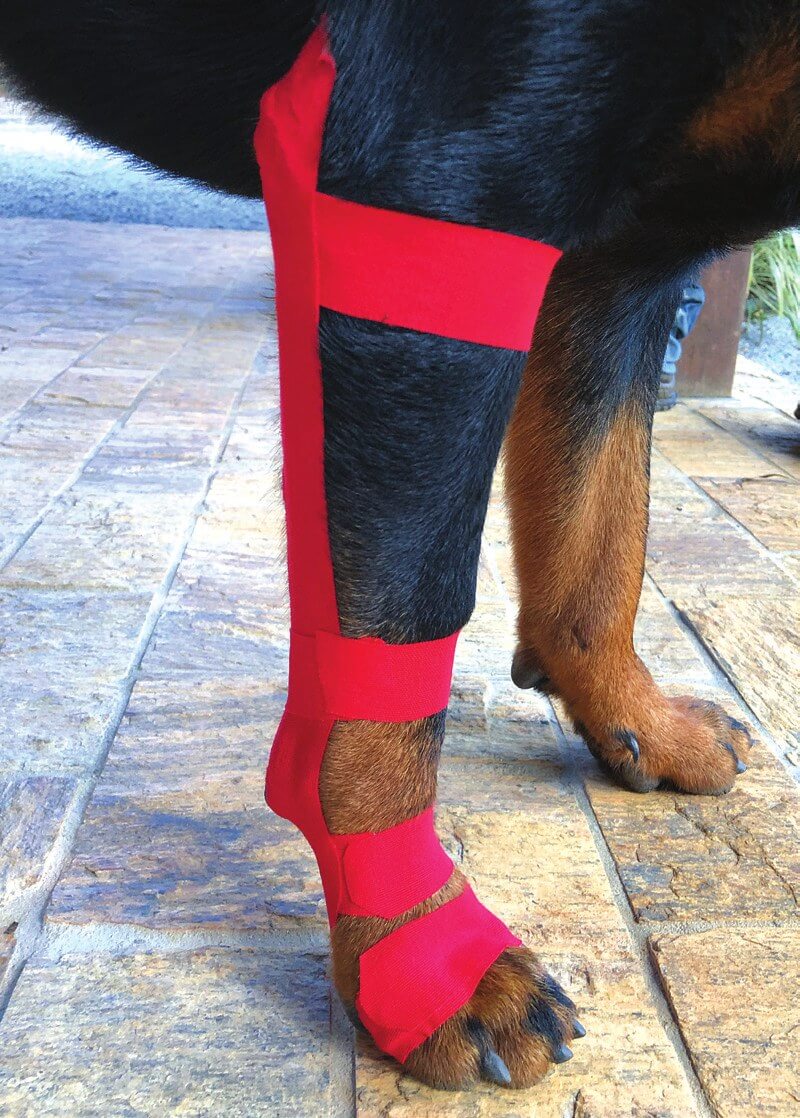
Carpal Hyperextension
Supporting a dropped wrist (carpus) with a secure anchor around the paw.
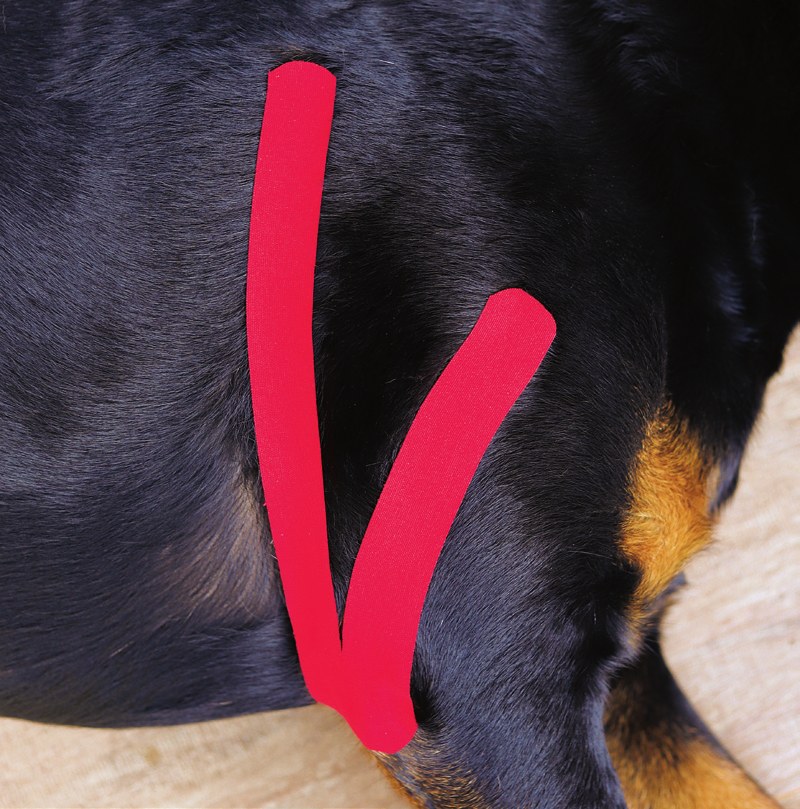
Biceps Brachii Tendinopathy
A Y-shaped application along the biceps brachii tendon for forelimb tendon pain.
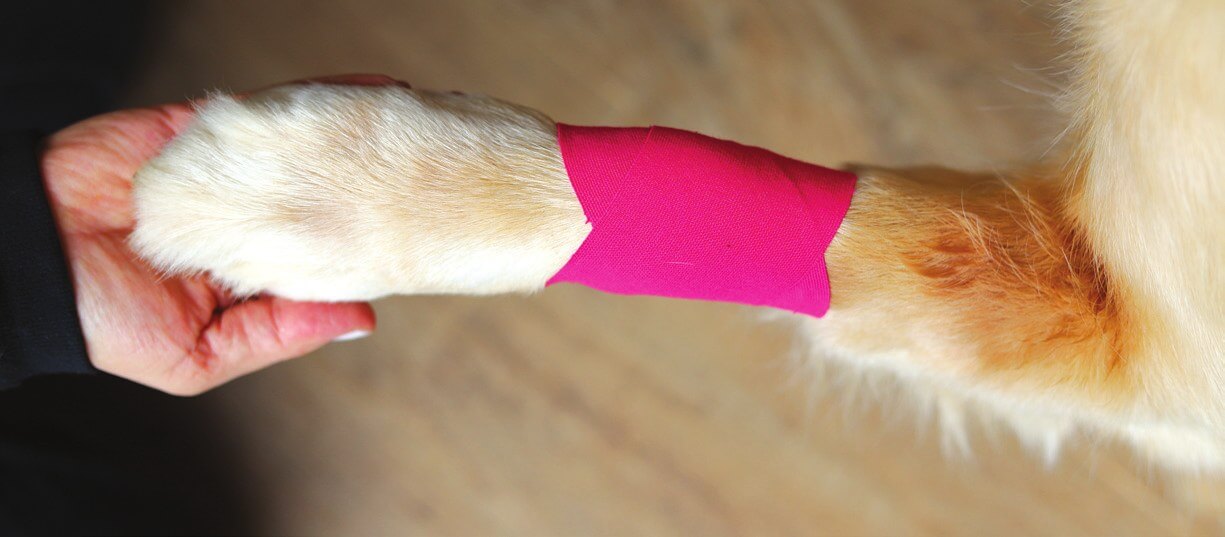
Joint Pain: The X Technique
A quick, versatile crossed application for general pain in smaller joints.
Skin & swelling
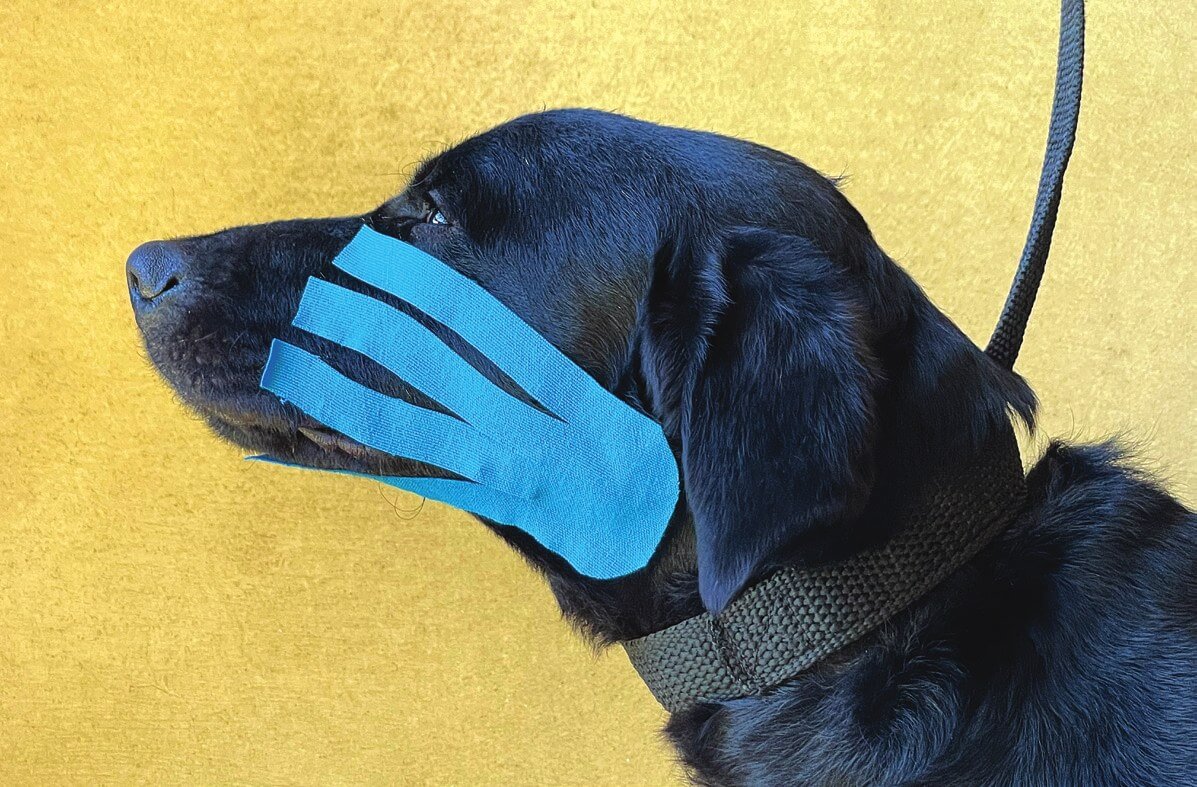
Facial Oedema
Directing facial swelling towards the nearest lymph node with the Lymphatic cut.
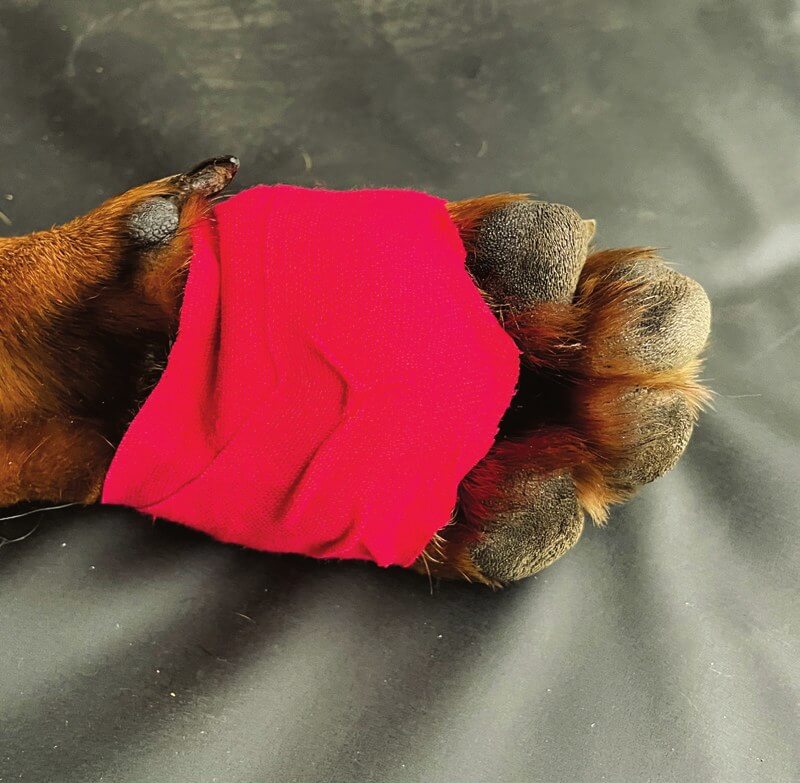
Digital Pad Wounds
Protecting a healing paw pad wound and keeping dressings securely in place.
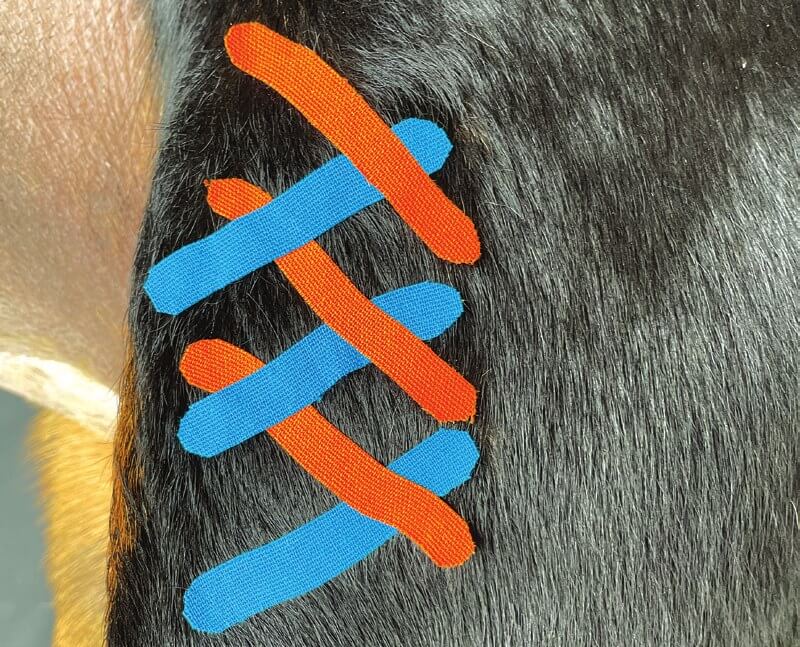
Scar Tissue
Crisscrossed strips to help restore movement to the fascia beneath a healed scar.
Movement & muscles
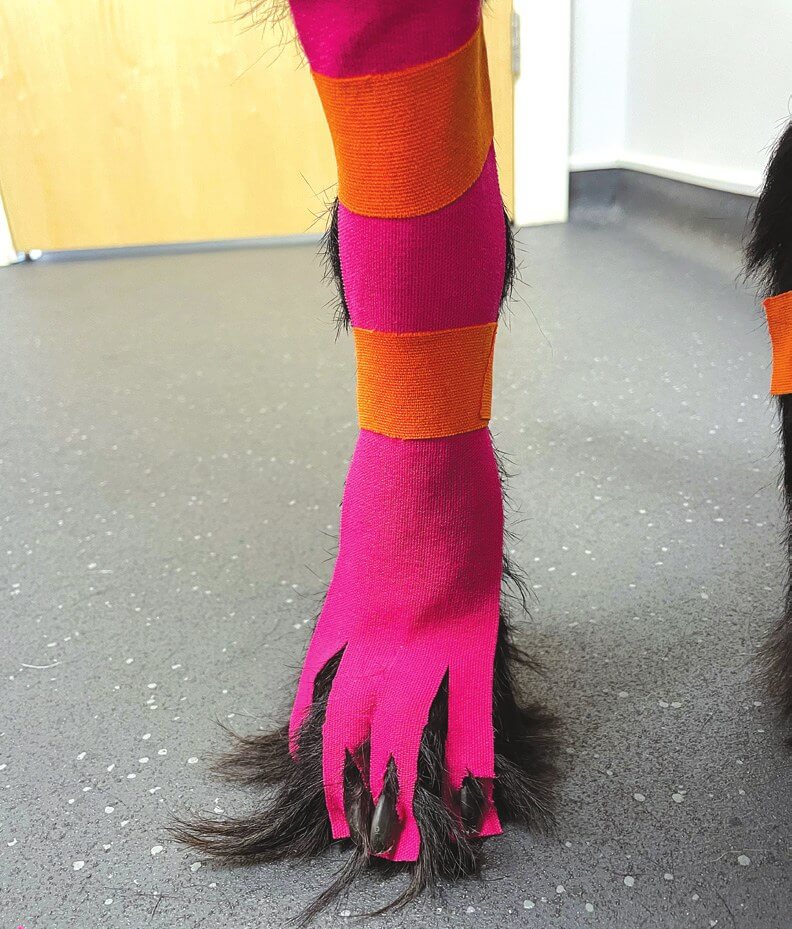
Improve Proprioception
Supporting dogs that drag their hind limbs with the Lymphatic or I-shape cut.
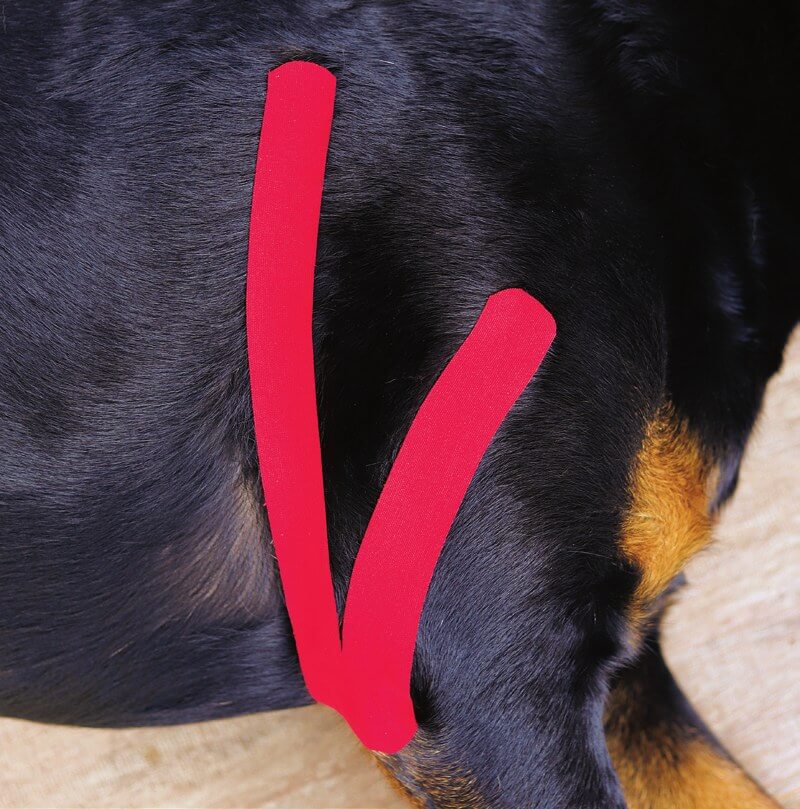
Kinesiology Taping for Muscles: Reference Guide
A visual reference covering ten commonly taped muscles, from erector spinae to quadriceps.
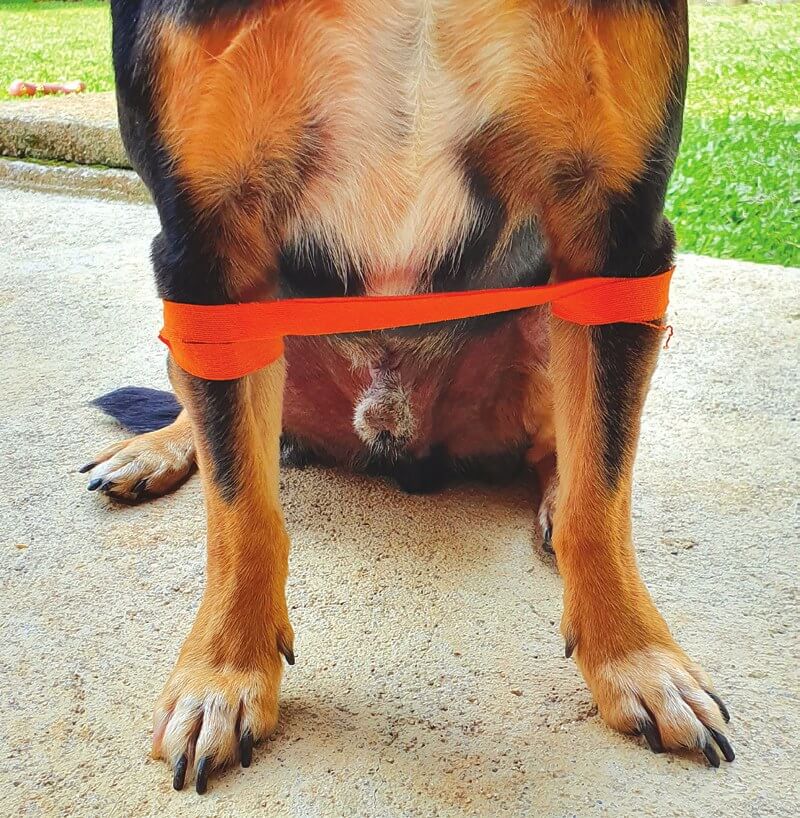
Swimming Puppy Syndrome
Gently bringing a puppy’s splayed legs closer together with a joined tape loop.
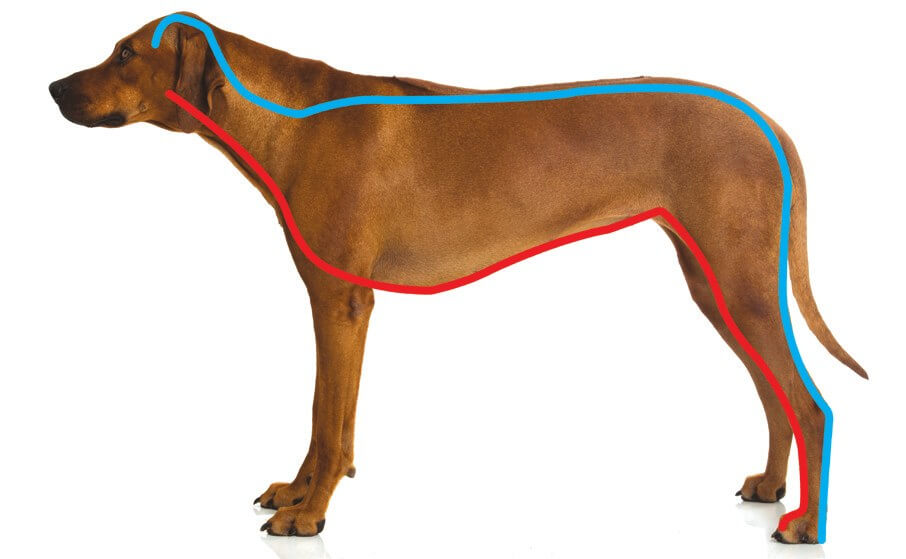
Kinetic Lines
Background on the fascial chains that connect the body, and why they matter for taping.
Reference guides
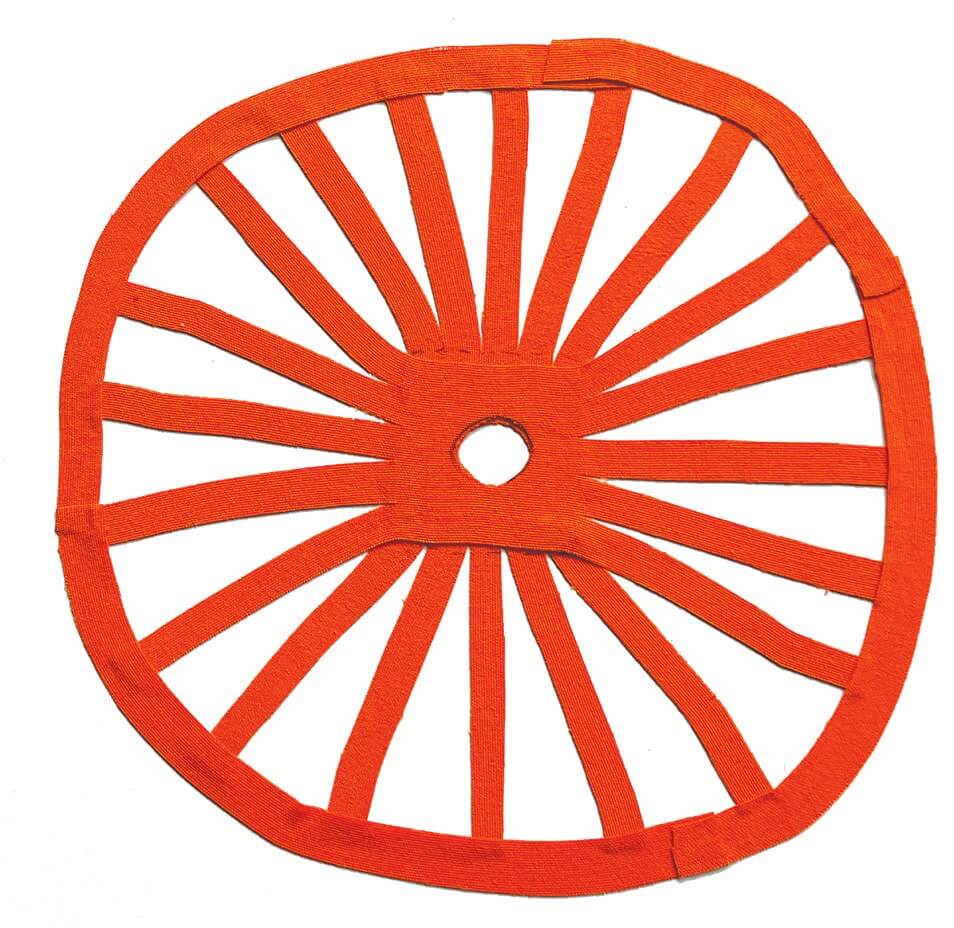
Tape Cuts & Shapes: Full Reference Guide
Every kinesiology tape cut used across our guides – I, Y, V, X, H, O, Lymphatic, Web, Basket and combination techniques.
The basics of canine kinesiology tape
Stretch
When removing the paper backing of the tape, it will already be stretched to 10-15%. It can be stretched up to 140% of its original length. The most common application is “paper off” – where the tape is removed from the paper and the therapist chooses the amount of stretch needed for the treatment goal. Usually, “paper off” is used for pain relief and lymphatic treatment. For muscle activation, more tension is needed and higher levels of stretching can be used if the intention is to promote stabilization or support.
Most of the applications are done using a very light pull (also called paper-off applications), where the tape is placed as the paper is removed, with no tension.
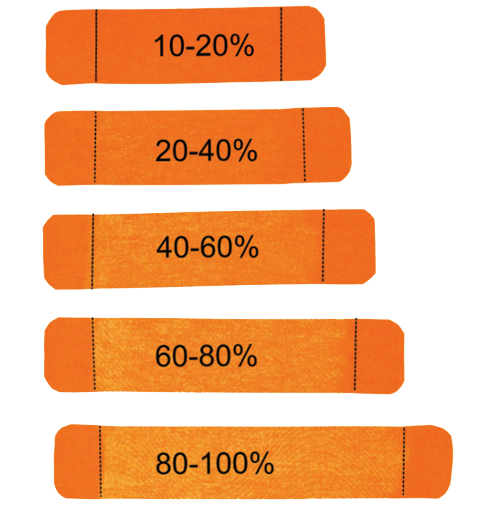
Stretch example on the tape
Adhesion of the tape
VetkinTape’s canine kinesiology tape is designed to last several days and is comfortable for the animal due to its elastic and breathable cotton material. It can be left on as long as any of the following criteria are met:
- the tape remains active;
- stays attached to the coat;
- the goal is being achieved;
Excessive friction, such as from cervical or pectoral collars or from the animal rubbing against the ground or objects, can reduce the adhesion of the tape. The animal may still attempt to remove the tape itself, in which case the therapist and owner may discuss the use of clothing or extra protection to prevent this from happening.
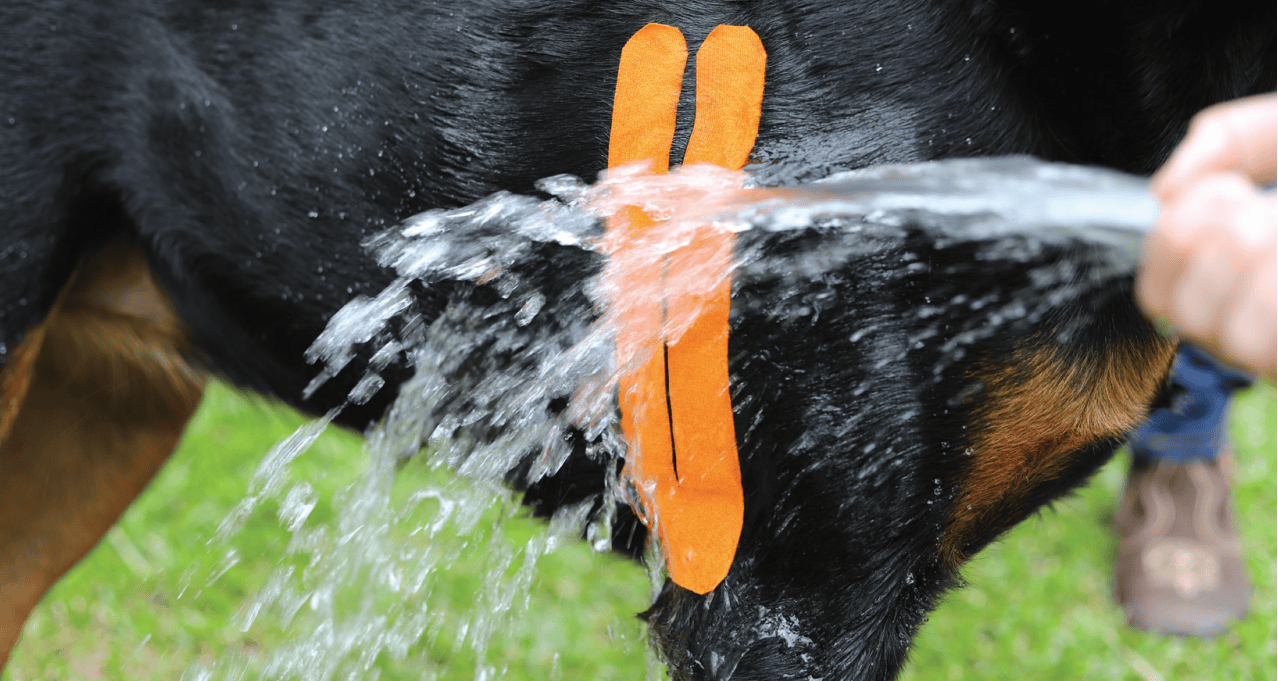
VetkinTape is waterresistant
How to tape a dog
The tape
- The edges of the tape are the areas most predisposed to detaching. By rounding the edges this will be less likely to occur.
- Avoid touching the tape during the process of cutting and removing the backing paper. Rip the backing paper first.
- Stretch the tape to the sides and the backing paper will detach.
- Bring the tape closer again and the paper will rise making it easier to catch.
- Fold the paper and hold with your fingers. The tape is ready to be applied with no stretch or stretched according to the treatment goal.
Remember that the tape can create a vector of force!
Depending on the application, the tape can create three kinds of vectors of force:
- If applied from one end to the other, it creates a vector of force in a horizontal direction, towards the point of origin (like an elastic).
- If applied from the middle part to the extremities, a vector of force in a horizontal direction will be created in the direction of the center of the tape.
- If applied with the convolution technique, the vector of force will be created in a vertical direction away from the skin.
The coat
For optimal results, your dog’s coat should be washed, dried, and thoroughly brushed before taping. Excessive dust, mud, dirt, loose hair, humidity, and damp weather can prevent the tape from adhering properly. If a bath is necessary, do it the day before taping so the fur is completely dry. To ensure the tape sticks, do not use detangling sprays or similar grooming products beforehand. We recommend using a pre-taping spray such as our VetkinTape Pre Tape Spray Clean Coat spray to clean the coat before application.
Short-haired dogs are the easiest to tape, but even dogs with medium-length or curly fur may not require extra attention. Australian Shepherds, Poodles, and other fuzzy mixed-breed dogs have successfully been taped without clipping their hair. However, for those with extremely long fur, clipping the coat to about half an inch is the best solution.
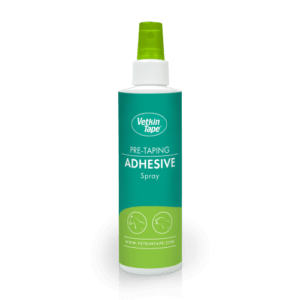
Rather than using a medical adhesive spray when the tape does not stay in place, use our specifically designed VetkinTape Pre-Tape Adhesive spray. It will give you that extra adhesion when needed.
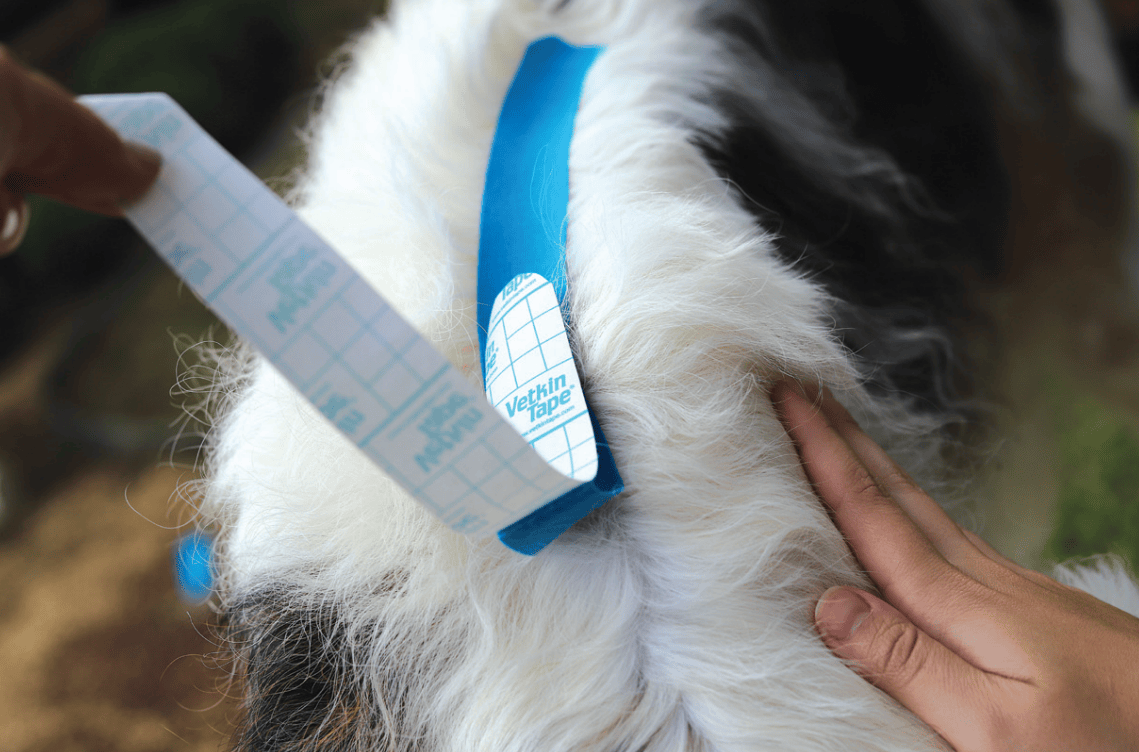
How to apply kinesiology tape on long haired breeds
If the area where the tape will be applied has been clipped due to other exams or surgery, taping it will be ideal. If clipping is not possible, the tape can still be applied in breeds with long hair for functional purposes. To do this, an assistant should part the hair and the tape should be placed as close to the skin as possible.
How to remove kinesiology tape from dogs coat
Remove the tape slowly and carefully, and make sure whoever takes it off knows how to do it, so that it doesn’t hurt. Loosen one end and pull the tape back along the direction of the hair, using your other hand to help. Never pull it straight up, away from the skin. You can also roll the tape up instead: start at one end and keep rolling in the direction of the hair until it comes off. With a Lymphatic application, start at the main anchor. With a Star application, loosen the centre first and work out towards the ends.
If the tape is stuck firmly, for example in a thick or long coat, these tips make it easier:
- Remover spray: we now also have a remover spray that is suitable for both humans and animals. Spray it onto the tape and wait a minute. The spray dissolves the adhesive layer, so the tape is much easier to remove.
- Oil: on a long-haired dog you can also apply a little oil (cooking oil or skin oil) over the tape. Wait a few minutes and then remove the tape carefully. The oil makes the tape come off more easily.
- Hair caught under the tape: use a small pair of scissors with rounded tips to cut the hair under the tape carefully.
Popular products for canine treatment
-
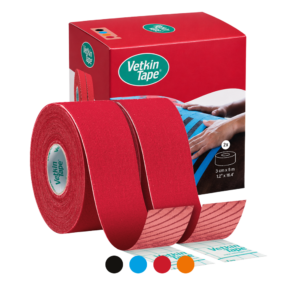
VetkinTape® veterinary tape 3cm x 5m
 $25.50
Select options
This product has multiple variants. The options may be chosen on the product page
$25.50
Select options
This product has multiple variants. The options may be chosen on the product page
-
VetkinTape® Pre-Tape Adhesive Spray
 $19.95
Add to cart
$19.95
Add to cart
-
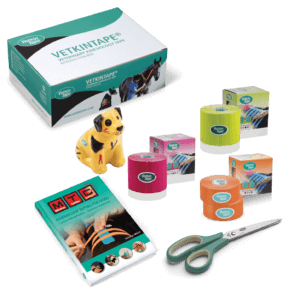
VetkinTape® Canine Introductory offer
 $143.30
Add to cart
$143.30
Add to cart
-
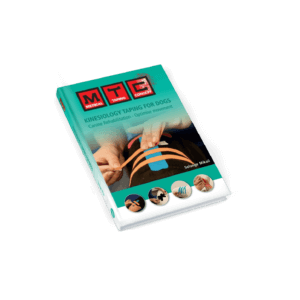
MTC® Kinesiology Taping for Dogs Book
 $49.95
Add to cart
$49.95
Add to cart
More information:
- Shop VetkinTape® »
- Continue reading about Equine kinesiology tape »
- Check out the VetkinTape® Canine Introductory offer »
- Check out the equine kinesiology taping course »
Please note that applications provided on our website are not clinically proven. All mentioned applications are based on extensive evaluation and case studies with licensed physiotherapists and/or other health professionals.
Attention: Mentioning source is mandatory, when using the content on this page.