Scars look unattractive, and can be painful or stick together, thus restricting movement. It is best to treat a scar as early as possible to prevent problems. The only condition is that the wound has healed completely. Older scars can also be treated. The tape lifts the skin and the underlying tissue and mobilises the area with every movement. The affected tissue feels more supple and mobile. Do not tape over open wounds! The same technique can also be used for bruises (haematomas). Very soon after a bruise or haematoma, a painful bruise develops, which often reminds you of the accident or fall for days. A tape can relieve this pain and speed up the healing process. The pressure difference in the tissue caused by the tape promotes blood circulation and the bruise will heal faster.
How to tape scars and bruises
Tips for a good taping application:
- Is the cause of the complaint or pain clear?
- Check if there any contraindications for not taping.
- Before you start taping, carefully read the instructions.
- Choose a colour of tape, any colour that fits your mood!
- Round of all the edges to prevent peeling.
- Do not stretch the tape at the beginning and the end.
- Rub the tape well for adhesion. Heat activates the adhesive layer.
- Showering or swimming is possible, pat the tape dry after it gets wet. Do not rub it hard.
- It is easier to remove the tape with body or massage oil.

Christina’s advice when taping scars and bruises
In the self-taping instructions, I have chosen taping applications that are easy to apply yourself. In order to make this treatment safe, I give practical tips, which you should take into account before, during and after a tape treatment. They are based on my years of practical experience. If the complaints persist, always consult a therapist or doctor.
Preparation for taping scars and bruises
Tape
Shape: I-Tape.
Number of strips: Depends on the size of the scar or bruise.
Technique: Ligament technique (maximum/full stretch).
Measuring and cutting the tape
Step 1:
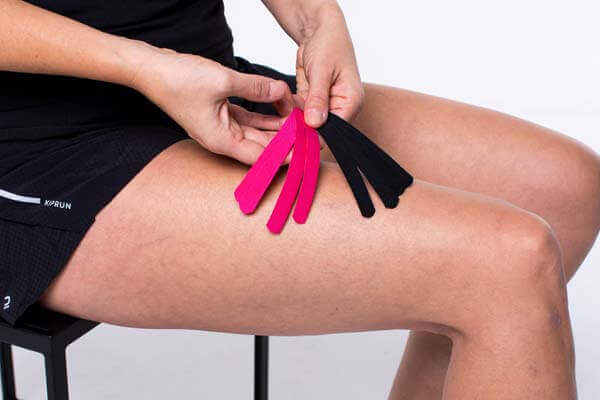
- Measure the tapes according to the length of the scar or the size of the bruise.
- Cut the 5 cm wide tape three times lengthwise, so that you get four equal, narrow strips.
Applying the tape on scars or bruises
Stap 1:
Step 2:
Step 3:
Step 4:
Step 5:
Step 6:
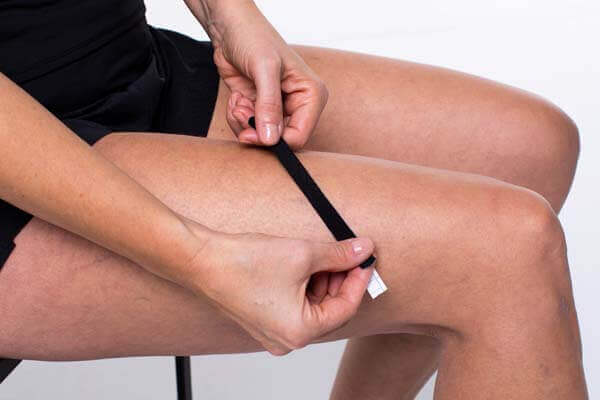
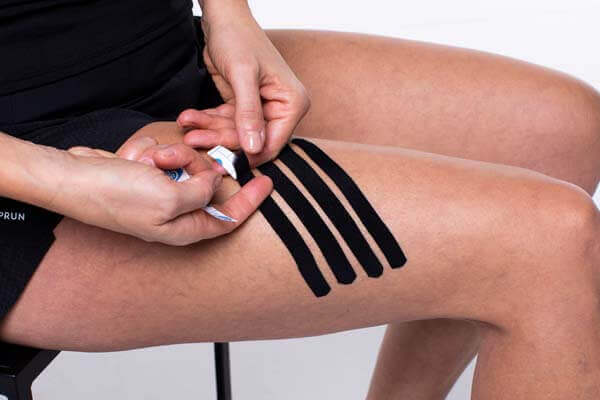
- Tear the release paper in the middle, fold it to the right and left, and stretch the middle part of the tape to the maximum.
- Place the tape at a 45 degree angle to the direction of the scar or the part of the body to be treated.
- Carefully place the two anchors without stretching and rub the tape on.
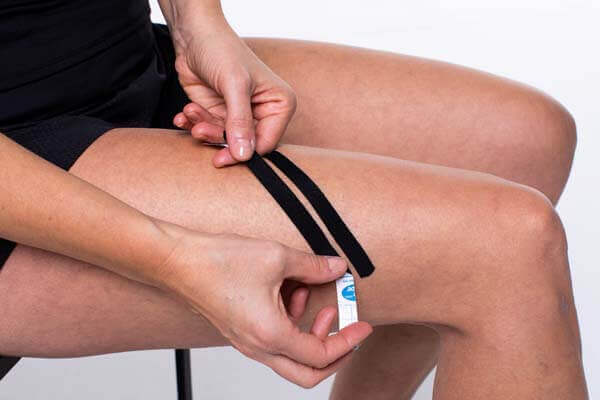
- At a distance of approx. 1cm, repeat the application with the other strips of tape until the entire scar or bruise is covered.
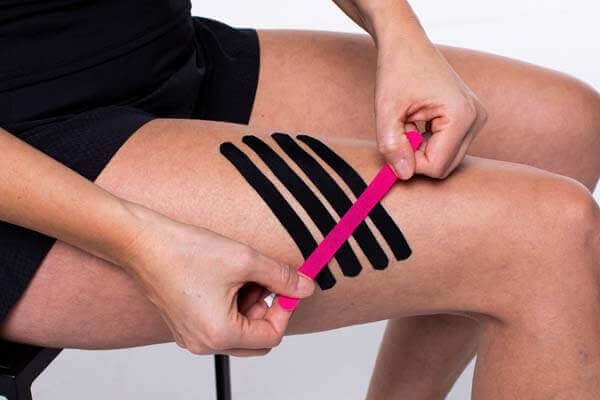
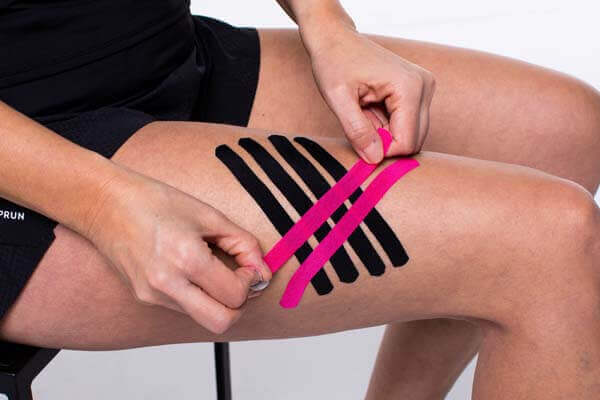
- Then place more tapes, also at a 45 degree angle, now at full stretch and in the opposite direction. The tapes must cross each other exactly in the middle of the scar or bruise.
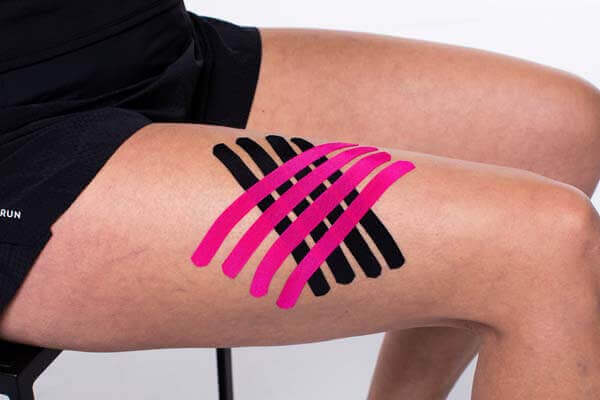
- You will need as many tapes as necessary until the area to be treated is completely covered. Rub the tapes well to ensure good adhesion.
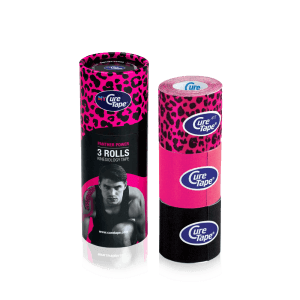
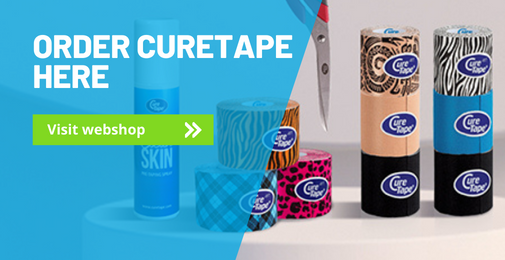
Popular products for taping scars or bruises
-
MYCureTape® – 3 Rolls Kinesiology Tape – Value Pack
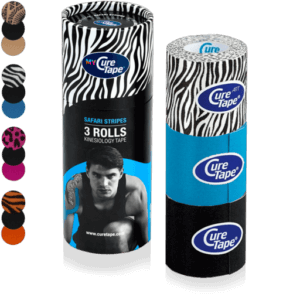 $28.95
Select options
This product has multiple variants. The options may be chosen on the product page
$28.95
Select options
This product has multiple variants. The options may be chosen on the product page
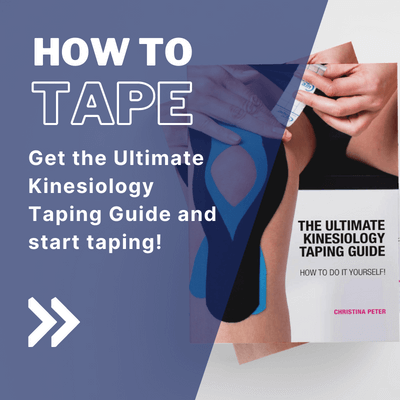
Learn how to tape
- 30 taping instructions for common injuries that taping can help you with
- 176 pages of clear written instructions
- 200 step-by-step instructions accompanied by photo’s, illustrations and scannable video’s through QR codes
What are you waiting for? Order your copy today!
*This book is intended for people who want to tape an injury or complaint themselves. If uncertain about the complaint, consult a physiotherapist.


THYSOL is the manufacturer of the kinesiology tape brand CureTape. As CureTape, we have been training and supplying professionals for almost 25 years. And consumers now know how to find us too! By manufacturing all our tapes in our own factory, we can guarantee the best quality!
Please note that the indicated tape applications and information on our website about the possibilities with kinesiology tape have not yet been scientifically proven. The statements and examples mentioned are based on long-term experiences of patients and trained therapists.
Contraindications not to tape: pregnancy, open wounds, broken bones, unexplained complaints, allergies and skin diseases, use of medication such as blood thinners, thrombosis and fever. Always apply tape in consultation with a specialist.