Osgood Schlatter’s is a troublesome condition for which it is often advised to rest and to avoid prolonged, intensive sports (running, jumping, sprinting and cycling). It is a persistent injury which can last from a few months to two years.
Symptoms in Osgood Schlatter:
- Painful lump at the front, just below the knee.
- Symptoms worsen during and after sport.
- Can occur in one knee or both knees at the same time.
- Knee can be swollen.
Get started with these items to tape Osgood Schlatter
-
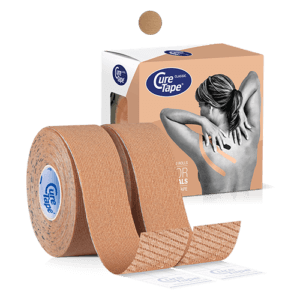
CureTape® Classic Kinesiology Tape
Bestseller $17.95
Select options
This product has multiple variants. The options may be chosen on the product page
$17.95
Select options
This product has multiple variants. The options may be chosen on the product page
-
CureTape® Art Printed Kinesiology Tape
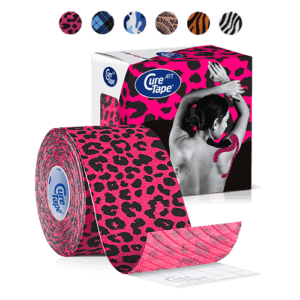 $19.50
Select options
This product has multiple variants. The options may be chosen on the product page
$19.50
Select options
This product has multiple variants. The options may be chosen on the product page
-
CureTape® Classic 2.5cm Kinesiology Tape
 $19.95
Add to cart
$19.95
Add to cart
-
CureTape Soft Touch Scissor
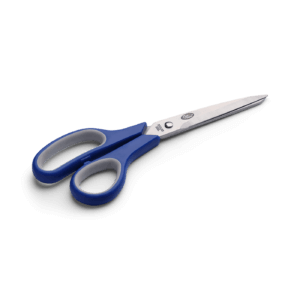 $19.95
Add to cart
$19.95
Add to cart
Instruction video: Taping for Osgood Schlatter
How to tape Osgood Schlatter
Within the kinesiology taping Concept, there is a taping application that can be applied by the therapist in the case of Osgood Schlatter, which provides immediate pain relief. Taping the knee makes it possible for the child to continue practising sport and cycling. kinesiology taping with CureTape provides pain relief, moisture dispersal and faster recovery.
- Cut a 5 cm strip of tape lengthwise in half.
- Cut this tape into 4 I-strips of 2.5 cm or get the pre-cut 2.5cm rolls of CureTape
- Have the patient sit with his or her knees bent.
- Apply a cross to the place of pain according to the ligament technique. Pay attention that there is no stretching on the anchors.

Christina’s advice when taping your knee
When taping your knee, it’s crucial to choose a tape that provides strong adhesion and support. That’s why I recommend CureTape kinesiology tape. For regular use, CureTape Classic or Art is ideal. However, if you’re using your hands a lot on a daily basis, opt for the extra sticky CureTape Sports variant!
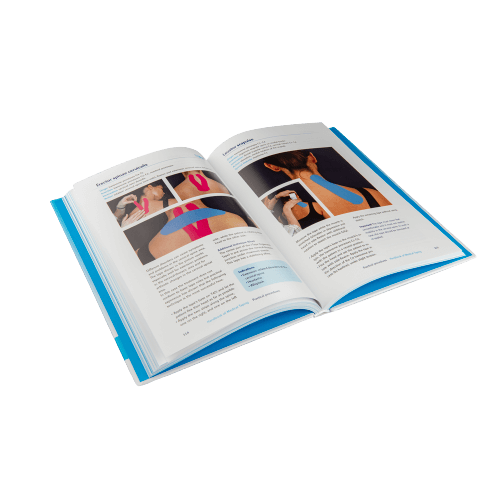
Learn how to tape
- The Ultimate Taping Guide: Focuses on self-taping for the 30 most common injuries where taping provides support.
- Kinesiology Taping Method Manual: Designed for (para medical) professionals, covering basic taping techniques and various pathologies.
- Decompressive Taping Techniques Manual: Specifically focuses on lymphatic taping methods for decompression.
What are you waiting for? Order a copy today!
THYSOL is the manufacturer of the kinesiology tape brand CureTape. As CureTape, we have been training and supplying professionals for 25 years. And consumers now know how to find us too! By manufacturing all our tapes in our own factory, we can guarantee the best quality!
Please note that the indicated tape applications and information on our website about the possibilities with kinesiology tape have not yet been scientifically proven. The statements and examples mentioned are based on long-term experiences of patients and trained therapists.Contraindications not to tape: pregnancy, open wounds, broken bones, unexplained complaints, allergies and skin diseases, use of medication such as blood thinners, thrombosis and fever. Always apply tape in consultation with a specialist.