By applying Kinesiology taping, the therapist can provide a lot of support for the pain, haematoma and respiratory problems in order to speed up recovery of broken or bruised ribs.
A broken or bruised rib is usually the result of a fall, blow or accident, or of strenuous exercise. Ribs can also break due to, for example, osteoporosis or metastasis from cancer. With a broken or bruised rib, there is little a doctor or physician can do to relieve the symptoms.
If the rib is still in place, a broken or bruised rib does little harm and heals within a few weeks. However, some complaints can last 6 to 12 weeks after a fracture or bruise.
Symptoms of a bruised rib:
- Haematoma of the affected rib
- Swelling in the acute phase
- Pain during certain movements in the chest, front, side or back
- Pain when breathing, sneezing or coughing
Symptoms of a broken rib:
- The rib may be tilted, changing the appearance of the chest
- Pain at the site of the injury and on movement of the chest
- Pressure on rib(s)
- Breathing is often impaired (shortness of breath, tightness of chest)
By applying Kinesiology tape, the therapist can provide a lot of support for the pain, haematoma and respiratory problems in order to speed up recovery.
Get started with these items to tape your ribs
-
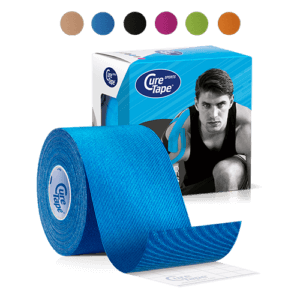
CureTape® Classic Kinesiology Tape
Bestseller $17.95
In stockSelect options This product has multiple variants. The options may be chosen on the product page
$17.95
In stockSelect options This product has multiple variants. The options may be chosen on the product page -
CureTape® Sports Extra Sticky Kinesiology Tape
 $19.50
In stockSelect options This product has multiple variants. The options may be chosen on the product page
$19.50
In stockSelect options This product has multiple variants. The options may be chosen on the product page -
CureTape Soft Touch Scissor
 $19.95
In stockAdd to cart
$19.95
In stockAdd to cart -
CureTape® Pre-Tape Spray
 $19.95
In stockAdd to cart
$19.95
In stockAdd to cart

Christina’s advice when taping your ribs
When taping your ribs, it’s crucial to choose a tape that provides strong adhesion and support. That’s why I recommend CureTape kinesiology tape. For regular use, CureTape Classic or Art is ideal. However, if you’re engaging in extreme sports or swimming, opt for the extra sticky CureTape Sports variant!
How to tape your ribs
Tips for Effective Rib Taping:
- Make sure you understand what’s causing the pain or discomfort
- Check if there are any reasons why taping might not be a good idea.
- Before you start, read the instructions carefully.
- Choose a tape colour or print that suits your style!
- Round of all the edges to prevent peeling.
- Avoid stretching the tape at the beginning and end.
- Rub the tape firmly for better adhesion; warmth helps activate the adhesive.
- You can shower or swim with the tape on; just pat it dry gently afterward, avoiding vigorous rubbing.
- To remove the tape easily, use body or massage oil.
How to tape in case of a broken or bruised rib:
Instructions for professionals
If there is swelling, it is advisable to first apply a (fan) lymph tape over the broken rib.
After a few days, the rib can be supported with the tape combination below.
- Have the client breathe in and apply the first tape in the course of the rib, using the ligament technique.
- Apply a second tape in the same way, over half the first tape. Take care not to stretch the ends.
- Next, apply two tapes next to the fracture or bruise. Start with the anchors without stretching, then let the client breathe in and let the tapes with slight stretching run to cranial.
The client should already experience a difference during the treatment. If the complaints increase, the tape should be removed and another taping method applied.
Instructions for self taping (non-professionals)
If there is swelling, it’s a good idea to start by applying a fan-shaped lymph tape over the broken rib.
Once the swelling has reduced after a few days, you can support the rib with the following tape method:
- Take a deep breath and apply the first tape along the rib, using the ligament technique.
- Apply a second tape in the same way, covering half of the first tape. Be careful not to pull too tightly at the ends.
- Then, apply two more tapes next to the fracture or bruise. Start by placing the tapes down without pulling too much, then take another deep breath while you gently stretch the tapes upwards.
You should feel some relief during the treatment. If your symptoms worsen, remove the tape and try a different taping method or consult a professional.
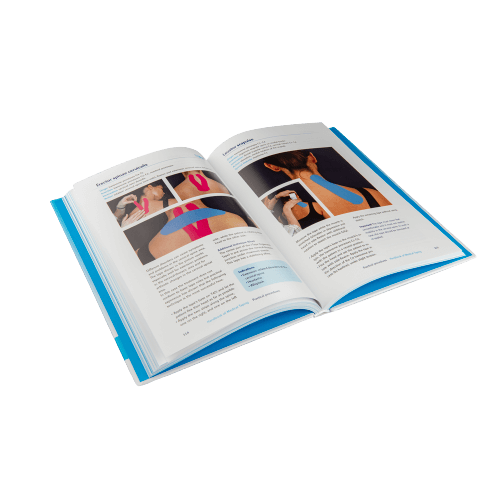
Learn how to tape
- The Ultimate Taping Guide: Focuses on self-taping for the 30 most common injuries where taping provides support.
- Kinesiology Taping Method Manual: Designed for (para medical) professionals, covering basic taping techniques and various pathologies.
- Decompressive Taping Techniques Manual: Specifically focuses on lymphatic taping methods for decompression.
What are you waiting for? Order a copy today!
THYSOL is the manufacturer of the kinesiology tape brand CureTape. As CureTape, we have been training and supplying professionals for 25 years. And consumers now know how to find us too! By manufacturing all our tapes in our own factory, we can guarantee the best quality!
Please note that the indicated tape applications and information on our website about the possibilities with kinesiology tape have not yet been scientifically proven. The statements and examples mentioned are based on long-term experiences of patients and trained therapists.
Contraindications not to tape: pregnancy, open wounds, broken bones, unexplained complaints, allergies and skin diseases, use of medication such as blood thinners, thrombosis and fever. Always apply tape in consultation with a specialist.