Cause of a bunion
The cause of the development of a bunion is often not entirely clear. A hereditary factor seems to play a role, and it also occurs more often in women than in men. Slack foot muscles, flat feet and flexibility in the foot joints seem to contribute to the development of a bunion. Symptoms can be exacerbated by wearing tight shoes and high heels, which irritate the lump on the side of the foot.
Get started with these items to tape a bunion
-
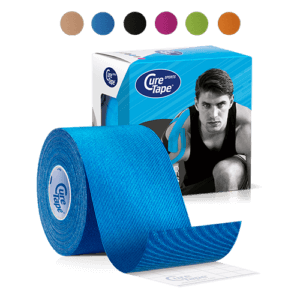
CureTape® Sports Extra Sticky Kinesiology Tape
 $19.50
In stockSelect options This product has multiple variants. The options may be chosen on the product page
$19.50
In stockSelect options This product has multiple variants. The options may be chosen on the product page -
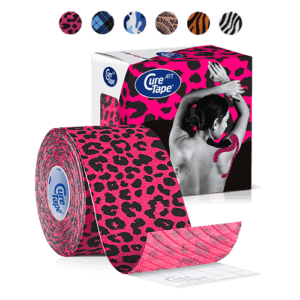
CureTape® Art Printed Kinesiology Tape
 $19.50
In stockSelect options This product has multiple variants. The options may be chosen on the product page
$19.50
In stockSelect options This product has multiple variants. The options may be chosen on the product page -
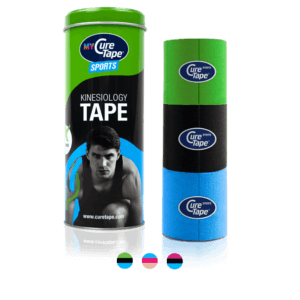
MYCureTape® Sports Extra Sticky Kinesiology Tape Value Pack
 $29.95
In stockSelect options This product has multiple variants. The options may be chosen on the product page
$29.95
In stockSelect options This product has multiple variants. The options may be chosen on the product page -
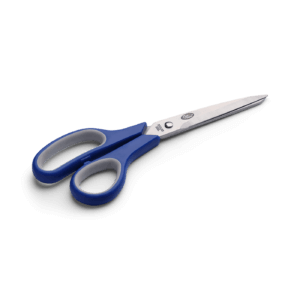
CureTape Soft Touch Scissor
 $19.95
In stockAdd to cart
$19.95
In stockAdd to cart
Instruction
Tape
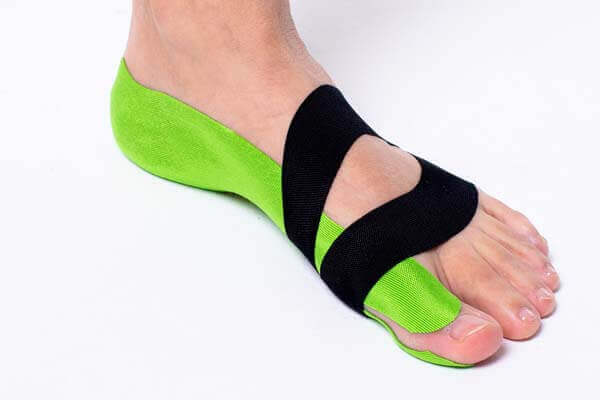
Shape:Y-Tape.
Number of strips: 2.
Technique: correction technique (big stretch).
Measuring and cutting the tape
Step 1:
- Sit on a chair and put your lower leg on the other leg to easily reach the foot to be treated.
- Measure the required tape length for the first tape from the outside of the big toe to the heel. Cut in the tape approximately 5 cm on one side.
- For the second tape, measure from the ball of the big toe across the top of your foot to the outside of the ankle. Cut in the tape to the last 5 cm.
Applying the tape
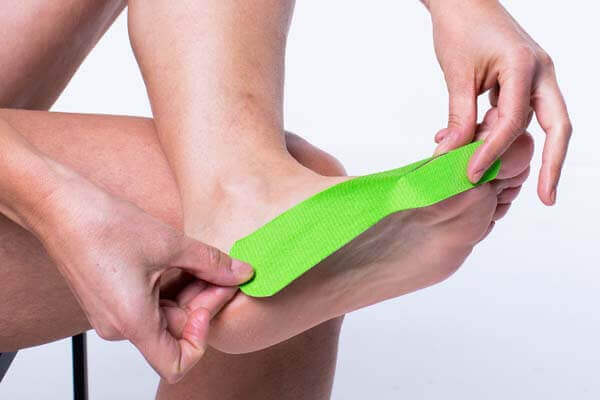
Step 1:
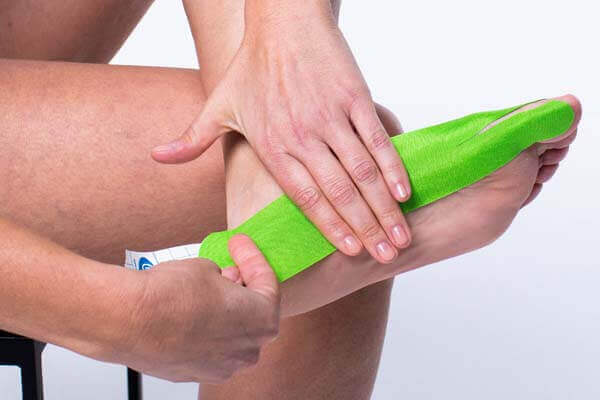
Step 2:
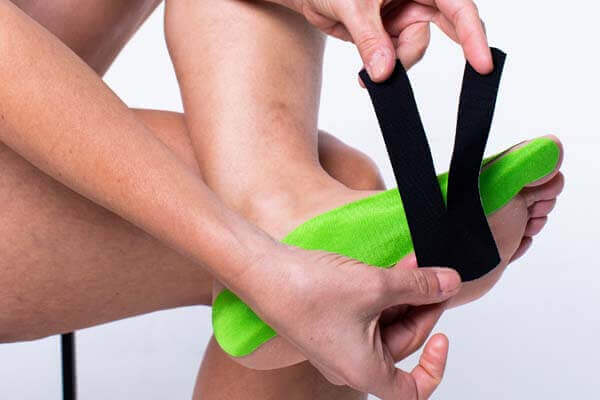
Step 3:

Step 4:
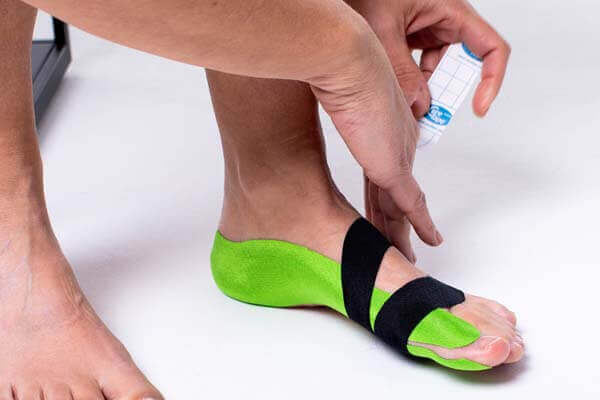
Step 5:
How do you tape bunion?
If the misalignment and the associated symptoms get much worse, surgery is recommended in the long run. However, a therapist can also help with pain management before this phase, by providing advice and an exercise programme to treat the bunion. The application of kinesiology taping within this treatment can provide pain relief and correct the angle of the misalignment.
Professional instructions
- Cut an I-tape with a narrower shape at the base (black) and a Y-tape (lime).
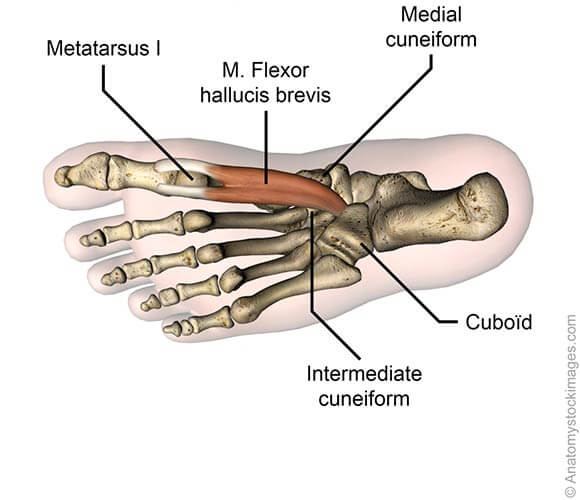
- The base of the first black tape is applied to the origin of the proximal phalanx. The foot is in rest position, the client extends the big toe.
- The tape then follows the inside of the foot joint to the end of the tuber calcanei medial. Rub the tape well for better adhesion.
- The second lime Y tape is applied with the base under the ball of the foot.
- The distal strip of the tape is applied over the metatarsophalangeal joints of the total foot up to the lateral malleolus.
- The distal strip is applied at full stretch, with the distal arch passively supported by the therapist.
- Then apply the proximal strip over the back of the foot up to the lateral malleolus (varus os metatarsale 1).
Instructions for self taping (non-professionals)
- Cut an I-shaped tape with a narrower shape at one end (black) and a Y-shaped tape (lime).
- Place the base of the first black tape at the base of your big toe. Keep your foot relaxed and gently extend your big toe.
- Apply the tape along the inside of your foot joint, extending it to the end of your inner heel. Press down on the tape to ensure it sticks well.
- Position the second lime Y tape with its base under the ball of your foot.
- Stretch the tape’s end over the joints of your entire foot, extending it to the outer ankle bone.
- Stretch the end of the tape fully while keeping your foot supported by the therapist.
- Finally, apply the remaining portion of the tape over the back of your foot, up to the outer ankle bone (varus os metatarsale 1).

Christina’s advice when taping your foot
When you’re taping your foot or shin, it’s crucial to use a kinesiology tape that sticks securely. Feet can get sweaty, and with all the movement, there’s a lot of friction. That’s why I recommend using CureTape Sports. This type of tape is specially designed to be extra sticky, 30% more than regular CureTape, ensuring that your tape stays in place for longer!
Learn how to tape
- The Ultimate Taping Guide: Focuses on self-taping for the 30 most common injuries where taping provides support.
- Kinesiology Taping Method Manual: Designed for (para medical) professionals, covering basic taping techniques and various pathologies.
- Decompressive Taping Techniques Manual: Specifically focuses on lymphatic taping methods for decompression.
What are you waiting for? Order a copy today!
THYSOL is the manufacturer of the kinesiology tape brand CureTape. As CureTape, we have been training and supplying professionals for 25 years. And consumers now know how to find us too! By manufacturing all our tapes in our own factory, we can guarantee the best quality!
Please note that the indicated tape applications and information on our website about the possibilities with kinesiology tape have not yet been scientifically proven. The statements and examples mentioned are based on long-term experiences of patients and trained therapists.Contraindications not to tape: pregnancy, open wounds, broken bones, unexplained complaints, allergies and skin diseases, use of medication such as blood thinners, thrombosis and fever. Always apply tape in consultation with a specialist.