Katrien Nackaerts presented us with a practical case involving a client who experienced a workplace injury resulting in the severing of the extensor tendon and nerve in their index finger down to the bone. Following hospital treatment, which included stitching the finger and tendon, the client wore a plaster cast for two weeks and then underwent four weeks of immobilisation.
Initial Challenges in Therapy
Upon commencing physiotherapy with Katrien, the client faced difficulties. They were unable to move their index finger, and scarring prevented active flexion and extension in the fingertip area. Touching or bending the finger caused significant pain, with a pain score of 9 out of 10.
Description of applied therapy and the Kinesiology Taping application
During the treatment Katrien mainly mobilises the distal joint (the joint closest to the fingertip). She also applies fascia therapy with the FASCIQ® IASTM Tool ‘Mustache‘ in combination with FASCIQ® Fascia Cream. Additional exercise therapy with hand clay and a flex web. The scar is cleaned and treated with pure NAQI Scar Oil.
Get started with these items to tape for a cut extensor tendon
-
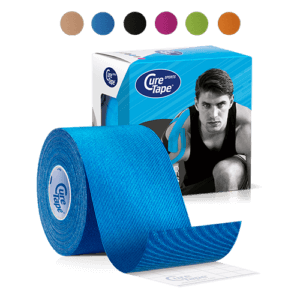
CureTape® Classic Kinesiology Tape
Bestseller $17.95
Select options
This product has multiple variants. The options may be chosen on the product page
$17.95
Select options
This product has multiple variants. The options may be chosen on the product page
-
CureTape® Sports Extra Sticky Kinesiology Tape
 $19.50
Select options
This product has multiple variants. The options may be chosen on the product page
$19.50
Select options
This product has multiple variants. The options may be chosen on the product page
-
CureTape® Art Printed Kinesiology Tape
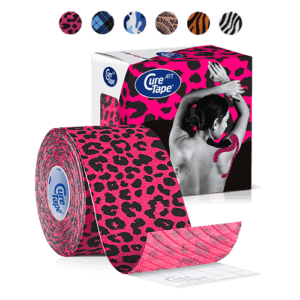 $19.50
Select options
This product has multiple variants. The options may be chosen on the product page
$19.50
Select options
This product has multiple variants. The options may be chosen on the product page
-
CureTape Soft Touch Scissor
 $19.95
Add to cart
$19.95
Add to cart
How to tape cut extensor tendon:
Professional instructions
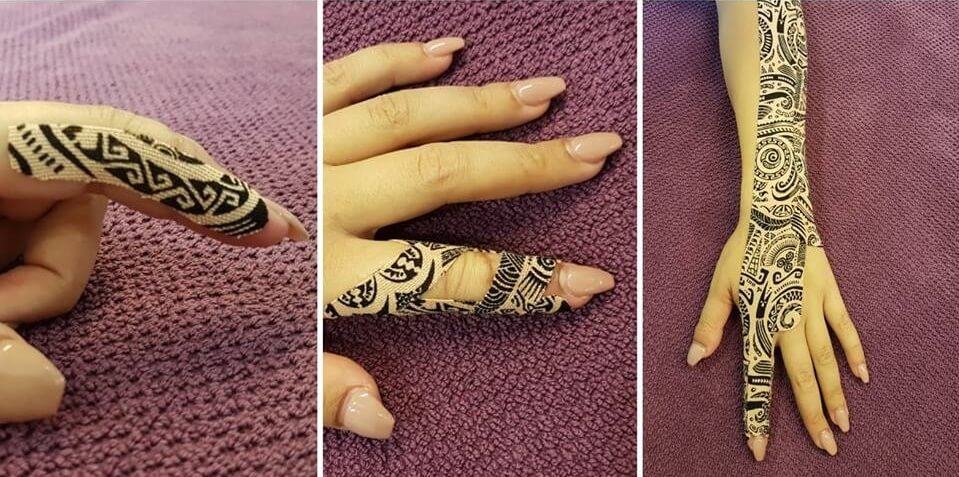
- Cut two narrow strips of tape approx. 1 cm wide x 4 cm long from the length of a roll of CureTape®.
- Apply the small tapes to the sides of the finger using a ligament technique.
- Cut a longer strip of approx. 1 cm x 10 cm and apply it circularly (not in a continuous line!) from the fingertip towards the hand.
- This tape provides support and particularly supports the last phalange during the flexion movement.
- Then measure the tape from the fingertip to the attachment of the extensor digitorum in the elbow.
- Cut the tape narrowly (approx. 1.5 cm) along the length of the fingertip to the hand.
- From the center of the tape to the remaining part, the tape remains 5 cm wide.
- Apply this relaxing tape (detonating) without stretching.
- Start from the fingertip and let the tape run over the muscle belly of the extensor digitorum over a bent wrist up to the attachment.
Instructions for self taping (non-professionals)
- Cut two narrow strips of tape, about 1 cm wide and 4 cm long, from the CureTape® roll.
- Stick these small tapes on the sides of your finger.
- Now, cut a longer strip, about 1 cm wide and 10 cm long, and wrap it around your finger from the tip to the base, but not in a straight line.
- This tape gives extra support, especially when you bend your finger.
- Measure the tape from your fingertip to where your elbow muscle connects.
- Cut the tape lengthwise from your fingertip to your hand, leaving it wider in the middle.
- Stick this tape gently, without pulling, starting from your fingertip and going up to your elbow muscle.
- Make sure the tape goes over the middle of the muscles in your wrist and finger.
 (Katrien has also tried to apply this tape as an activating tape (elbow to fingertip), but this had less effect than the relaxing tape). The tape provides less tension on the scar and pain relief, which improves the flexion movement considerably (as can be seen in the video).
Effect of taping on a cut extensor tendon
Result after two weeks of therapy:
Pain score when touching index finger during therapy: 5/10
Flexion gain of at least 10 degrees without tape. The client can actively use the taped finger at work. Without the tape application this is not possible at all. Katrien continues to treat her weekly in her clinic.

Christina’s advice when taping your hand
When taping your hands, it’s crucial to choose a tape that provides strong adhesion and support. That’s why I recommend CureTape kinesiology tape. Because tape is applied on the hand, it may come off sooner due to sweat or friction. Therefore, opt for our extra sticky CureTape Sports tape variant!
Learn how to tape
Want to learn how to apply tape yourself*? Check out our manuals on taping:
- The Ultimate Taping Guide: Focuses on self-taping for the 30 most common injuries where taping provides support.
- Kinesiology Taping Method Manual: Designed for (para medical) professionals, covering basic taping techniques and various pathologies.
- Decompressive Taping Techniques Manual: Specifically focuses on lymphatic taping methods for decompression.
What are you waiting for? Order a copy today!
THYSOL is the manufacturer of the kinesiology tape brand CureTape. As CureTape, we have been training and supplying professionals for 25 years. And consumers now know how to find us too! By manufacturing all our tapes in our own factory, we can guarantee the best quality!
Please note that the indicated tape applications and information on our website about the possibilities with kinesiology tape have not yet been scientifically proven. The statements and examples mentioned are based on long-term experiences of patients and trained therapists.Contraindications not to tape: pregnancy, open wounds, broken bones, unexplained complaints, allergies and skin diseases, use of medication such as blood thinners, thrombosis and fever. Always apply tape in consultation with a specialist.